Ever wish your iPod had a more modern feel—like the satisfying tap of a smartphone keyboard? In this guide, we’ll walk you through how to replace the iPod Classic’s mechanical clicker with a Taptic Engine from an iPhone. Every scroll or button press will now result in a subtle, sleek vibration.
This mod works on the iPod Classic 5th, 6th, and 7th generation, as they all share the same headphone jack flex cable. It should also work on any iPod that has a clicker—as long as there’s enough internal space.
We’ll be using a Taptic Engine from an iPhone Mini, as its compact enough to fit alongside other mods like Bluetooth and a larger battery.
What You’ll Need
- Soldering iron + flux paste
- Taptic Engine (iPhone Mini recommended)
- Small gauge wire
- Kapton tape (or electrical tape as a substitute)
- Super glue (hard-drying preferred)
- iPod opening tools
- Replacement headphone jack flex cable
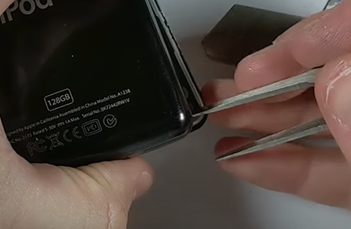
Step 1: Open the iPod
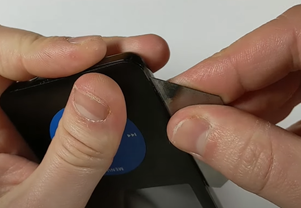
Opening an iPod Classic is tricky, so be patient. If you haven’t done it before, check out my full disassembly guide for the 6th/7th Gen iPod.
Once open:
- Disconnect the battery flex cable.
- Disconnect the headphone jack flex cable.
Tip: Be careful not to damage the logic board or flex cables. They’re fragile and not always easy to replace.
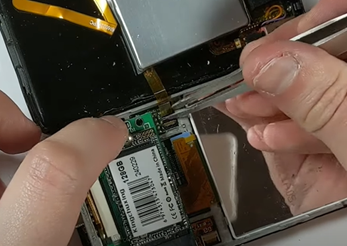
Step 2: Make Room for the Taptic Engine
In this example, the iPod already has a Bluetooth mod, a 2,000mAh battery, and a mSATA SSD. Unfortunately, the Taptic Engine won’t fit with all of that in place.
Here’s how we solve it:
- Remove the original battery and SSD if needed.
- Mount the Taptic Engine in the space previously used by the battery.
If you’re using a slim version, this mod will still work with a 3,000mAh battery and a Flash Quad adapter.
For thick back models, space won’t be an issue—you could even try a larger Taptic Engine from an iPhone 7 or 8 Plus.
Step 3: Trim the Taptic Engine
Most Taptic Engines (like the iPhone Mini’s) come with small screw mounts.
- Use pliers to snap or bend off the three screw tabs.
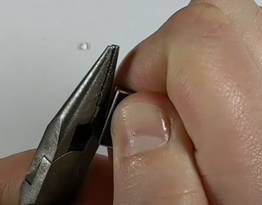
- This will let it sit flush against the back housing.
Vibrations need a solid surface to bounce off—mount the engine hard up against the rear metal housing for best results.
Step 4: Remove the Connectors
Let’s prep the wiring.
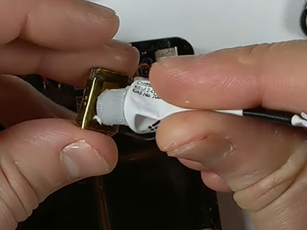
On the Taptic Engine:
- Apply flux paste to the connector.
- Use your soldering iron to remove the stock connector.
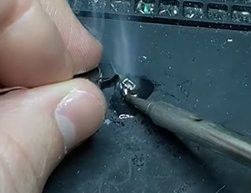
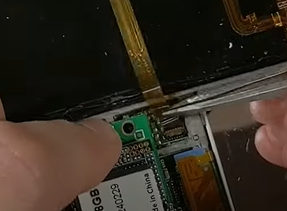
On the iPod Clicker:
- Apply flux again.
- Use the iron to desolder the original clicker from the headphone jack flex cable.
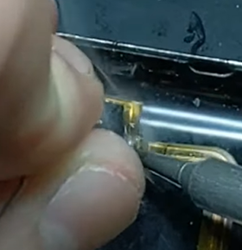
Be extra careful! Damaging this flex cable can lead to no audio or click feedback. If that happens, you’ll need a replacement cable (available on my site or AliExpress)
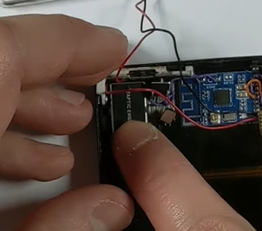
Step 5: Wire It Up
- Cut two small wires (use thin gauge wire).
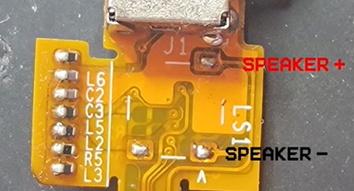
- Solder one wire to each of the two active pads on the flex cable where the clicker was.
- Top pad = positive
- Bottom pad = negative
- The middle pad is just for mechanical stability; it’s not needed.
Polarity doesn’t matter for the Taptic Engine. It’ll work either way.
- Strip the other ends and solder them to the two outer pads on the Taptic Engine (those are the main contacts for the iPhone Mini version).
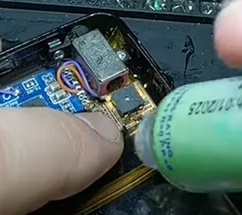
Step 6: Insulate and Protect
- Wrap the Taptic Engine with Kapton tape to protect the flex and keep it from shorting or snagging.
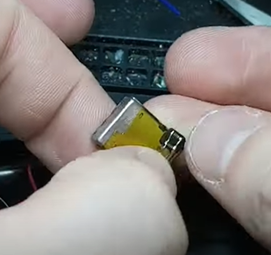
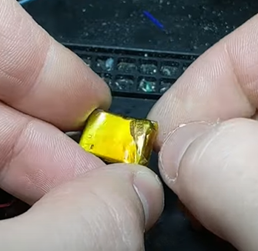
This is especially important because we’ll be gluing it to the inside of the iPod, and loose tape can absorb vibrations and reduce the haptic effect.
Step 7: Test It
Before gluing anything:
- Reconnect the battery and headphone jack cables.
- Boot up the iPod.
- Go to Settings > Clicker and set it to “On” (not “headphones only”).
Now scroll or click—you should feel a gentle vibration.
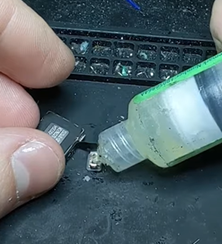
Step 8: Glue It In
Once you’re satisfied:
- Apply a dab of super glue to the back of the Taptic Engine.
- Press it firmly against the rear housing.
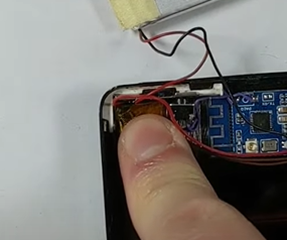
- Let it dry completely with pressure for optimal adhesion.
Step 9: Reassemble the iPod
Seal it all back up:
- Tuck in the wires carefully.
- Snap the clips along the edges back in place.
Optional: Cosmetic Fix
If your black front plate got scratched during disassembly:
- Use a black permanent marker or paint pen to cover the silver nicks.
- Do this before sealing the iPod for best results.
Final Test and Thoughts
Once closed up, turn on your iPod and test again.
You should feel a subtle vibration with each click.
It’s comparable to light haptic feedback on a smartphone keyboard.
Want it stronger? Try an iPhone 7/8 Plus Taptic Engine if you’re not doing other space-heavy mods like Bluetooth.
Would I Recommend It?
Absolutely.
This mod:
- Makes your iPod feel more modern
- Pairs perfectly with Bluetooth, USB-C, or Rockbox
- Is surprisingly easy if you’ve got basic soldering skills
If enough people are interested, I might offer this as a Taptic Engine add-on for my Bluetooth mod kits—let me know if that’s something you’d like to see.