For many iPod enthusiasts, the iPod Classic 7th generation is one of the best music players Apple ever made. It’s sleek, powerful, and capable of handling modern upgrades like terabyte storage and Bluetooth. But it comes with one huge downside: it’s a nightmare to open.
The front and back plates are both made of metal, held together by a series of clips that can be tough to release without bending the frame or leaving marks. With experience, opening one gets easier, but for beginners it’s frustrating.
That’s why many modders have turned to an interesting solution: installing a 5th generation front plate onto the 7th gen.
Why Use a 5th Gen Front Plate?
The 5th gen iPod Classic (also called the iPod Video) has a plastic front plate instead of metal. This makes it much easier to open without risking damage. It also comes in clear variants, which not only look great but also give you easier access for future repairs and upgrades. And most importantly, it uses the exact same clipping mechanism that the 6th and 7th gens have, so parts are interchangeable.
So in this build, we’re swapping in a clear 5th gen faceplate on a 7th gen Classic—while also upgrading it with:
- Bluetooth
- 1TB of flash storage
- 3,000 mAh extended battery
- A Taptic Engine
This particular iPod was built for content creator Rainykeyboard, but the process can be followed by anyone looking to take their iPod modding to the next level.
Opening the iPod Classic 7th Gen
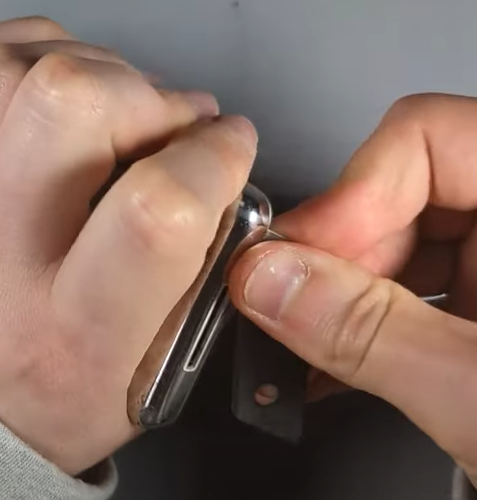
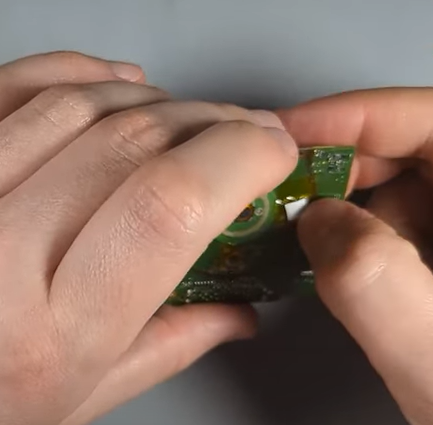
Using a thin blade (like a box cutter), the iPod was carefully opened in under two minutes. Sometimes the hard drive sticks to the back plate, and the battery connector may pop out—both normal occurrences when prying open these models.
Once inside, the hard drive, battery, and headphone jack flex cable were removed to prepare for the new front plate and components.

Installing the 5th Gen Front Plate
The good news is that all screw positions line up perfectly between the 5th and 7th gen models. That means you won’t need to modify the frame.
Steps included:
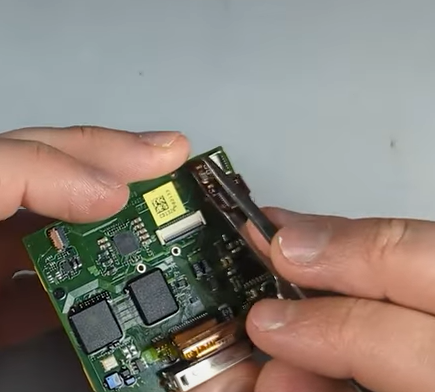
- Removing the six screws holding the logic board in place.
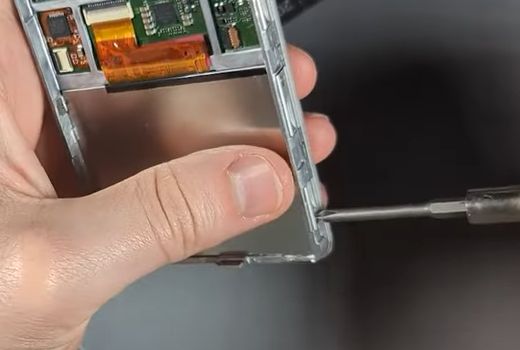
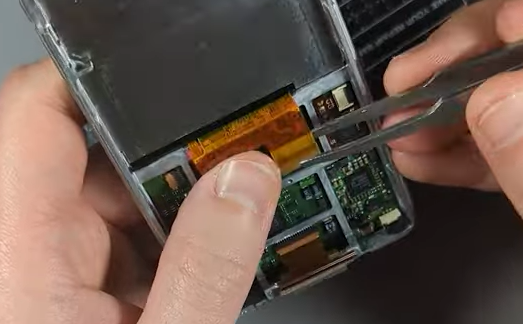
- Disconnecting the LCD flex cable.
- Removing the click wheel and preparing for replacement.
The Click Wheel Challenge
Here’s where things get tricky:
- The 5th gen click wheel and the 6th/7th gen click wheels are not interchangeable.
- The 5th gen click wheel is 1.7mm thick, while the 6th/7th gen wheel is 1.0mm thick.
This thickness difference causes alignment problems. To fix it, additional padding had to be added behind the buttons.
A few modding tricks include:
- Using double-sided 3M tape for extra thickness.
- Layering Kapton tape to avoid short circuits.

- Ensuring the buttons don’t sink too low or become overly stiff.
Another method is to combine the plastic part of a 5th gen wheel with the flex cable from a 7th gen wheel, but in this build, padding adjustments worked fine.
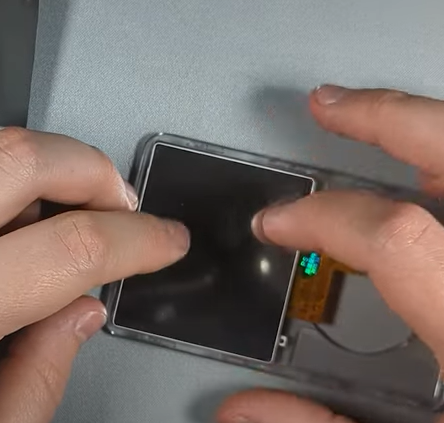
The LCD Fitment
Although the 7th gen LCD is slimmer than the 5th gen, aftermarket clear plates have slightly thicker foam backing. This keeps the screen snug without wobbling or dust issues.
Once installed, the protective layer was removed, dust was cleaned, and the display sat flush against the clear plate.
Upgrades Added to This Build
This article walks you through the process, but if you prefer a visual guide, you can watch the complete tutorial here:
1. Bluetooth Module
The iPod was fitted with a custom back plate that housed a Bluetooth 4.1 upgrade kit. This allows wireless listening, though range and consistency can vary depending on the module used.
2. 1TB Storage Upgrade
Using an iFlash Quad adapter with four 256GB microSD cards, the iPod was expanded to a full terabyte of storage. One card cracked during installation, but once replaced, the system restored and synced perfectly via iTunes.
3. 3,000 mAh Battery
The original iPod Classic battery is tiny by modern standards. Installing a 3000mAh extended battery dramatically improves runtime—especially useful with Bluetooth enabled.
4. Taptic Engine
For an added modern touch, a Taptic Engine was installed, giving haptic feedback similar to modern iPhones. It’s not necessary for function, but it’s a cool customization feature.
Final Thoughts
After reassembly, the iPod was fully tested: Bluetooth pairing, playback, range, click wheel feel, and storage performance. The clear front plate not only gave it a unique look but also ensured future repairs and mods will be far easier.
This build turned a standard 7th gen iPod into a modernized, one-terabyte powerhouse that still keeps Apple’s iconic design. And best of all—it’s much less stressful to open the next time upgrades are needed.
If you’re into iPod modding, consider experimenting with front plate swaps. It’s a practical and stylish way to keep these classics alive.
Buy replacement parts: